Last updated November 17, 2026

Free written scope consultation - allowances, timeline, and change-order rules on paper before a single trade is scheduled
Driveway & Pavers Troubleshooting: Common Problems and How to Fix Them
Here’s the pattern we see most often in Torrance: a homeowner power-washes out the joint sand in late spring, sweeps in a fresh bag, and calls it fixed. Eighteen months later, the same joints are empty again and the same pavers are rocking. The sand was never the problem. The water that moved it was. This guide is about diagnosis before repair, because in our experience the difference between a $300 fix and a $6,000 reinstall is almost never the damage you can see. It’s whether you correctly identified base failure, drainage failure, or fastening failure before anyone touched a paver. Below, we’ll walk through a three-question diagnostic, the movement patterns that tell you which layer failed, and what each repair should cost.
Quick Answer
Most driveway and paver problems trace to one of three failures: a settling base layer, water that isn’t draining where it should, or edge restraint that has come loose. Surface-only issues like efflorescence or sand loss are usually symptoms of one of those three. Diagnosing which layer failed first tells you whether you’re looking at a small, targeted repair or a section rebuild.
Styles & brands we work with
- Kitchen remodeling
- Bathroom remodeling
- Home additions & ADU
- Roofing
- Windows & doors
- Driveway & pavers
- Fence
Table of Contents
- The Three-Question Diagnostic: Base, Drainage, or Surface?
- Rocking and Hollow-Sounding Pavers: How to Re-Bed Correctly
- Base Settlement vs. Edge Restraint Failure: Reading the Pattern
- Joint Sand Washout and What It Really Signals
- Efflorescence in Coastal Climates
- Drainage and Grading: Where Water Actually Goes
- What Each Repair Should Cost
- A Field Walkthrough: Diagnosing a Driveway in Eight Steps
The Three-Question Diagnostic: Base, Drainage, or Surface?
Before lifting a single paver, answer these three questions. They’re not abstract. Each one points to a specific layer of the assembly.
- Does the problem move with water? If the failure is concentrated where runoff passes over or through the driveway – the low edge, the transition to the street, the corner nearest a downspout – you’re looking at a drainage problem. Surface repairs without fixing the flow will fail again.
- Does the problem have a shape? A bowl-shaped depression in the center of a driveway points to base settlement – the compacted aggregate underneath lost density. A lip of pavers creeping toward or over the edge restraint points to a fastening failure at the perimeter.
- Does the problem come off with a cleaner? If light scrubbing with a pH-neutral cleaner removes the haze and the pavers underneath are solid and seated, it’s surface-only. If the pavers move when you step on their corners, no cleaner will help. That’s the base talking.
If your answer to question one is yes, budget for drainage work as part of the repair. In Torrance, where the winter rain arrives in concentrated weeks and the rest of the year is dry, we’ve seen driveways that look fine in July and fail visibly by February because drainage was patched, not corrected. A proper fix addresses where the water goes, not just what the water left behind.
Rocking and Hollow-Sounding Pavers: How to Re-Bed Correctly
Rocking pavers mean the paver has lost support underneath – bedding sand has migrated, or a void opened in the sub-base. If it’s one or two units near a corner, it’s usually bedding sand. If a cluster of adjacent pavers rocks together, expect a sub-base void and test for it before resetting anything.
Here’s the sequence our crews use. It’s the same sequence a careful homeowner can follow for a small repair, though a broader area usually calls for trained hands.
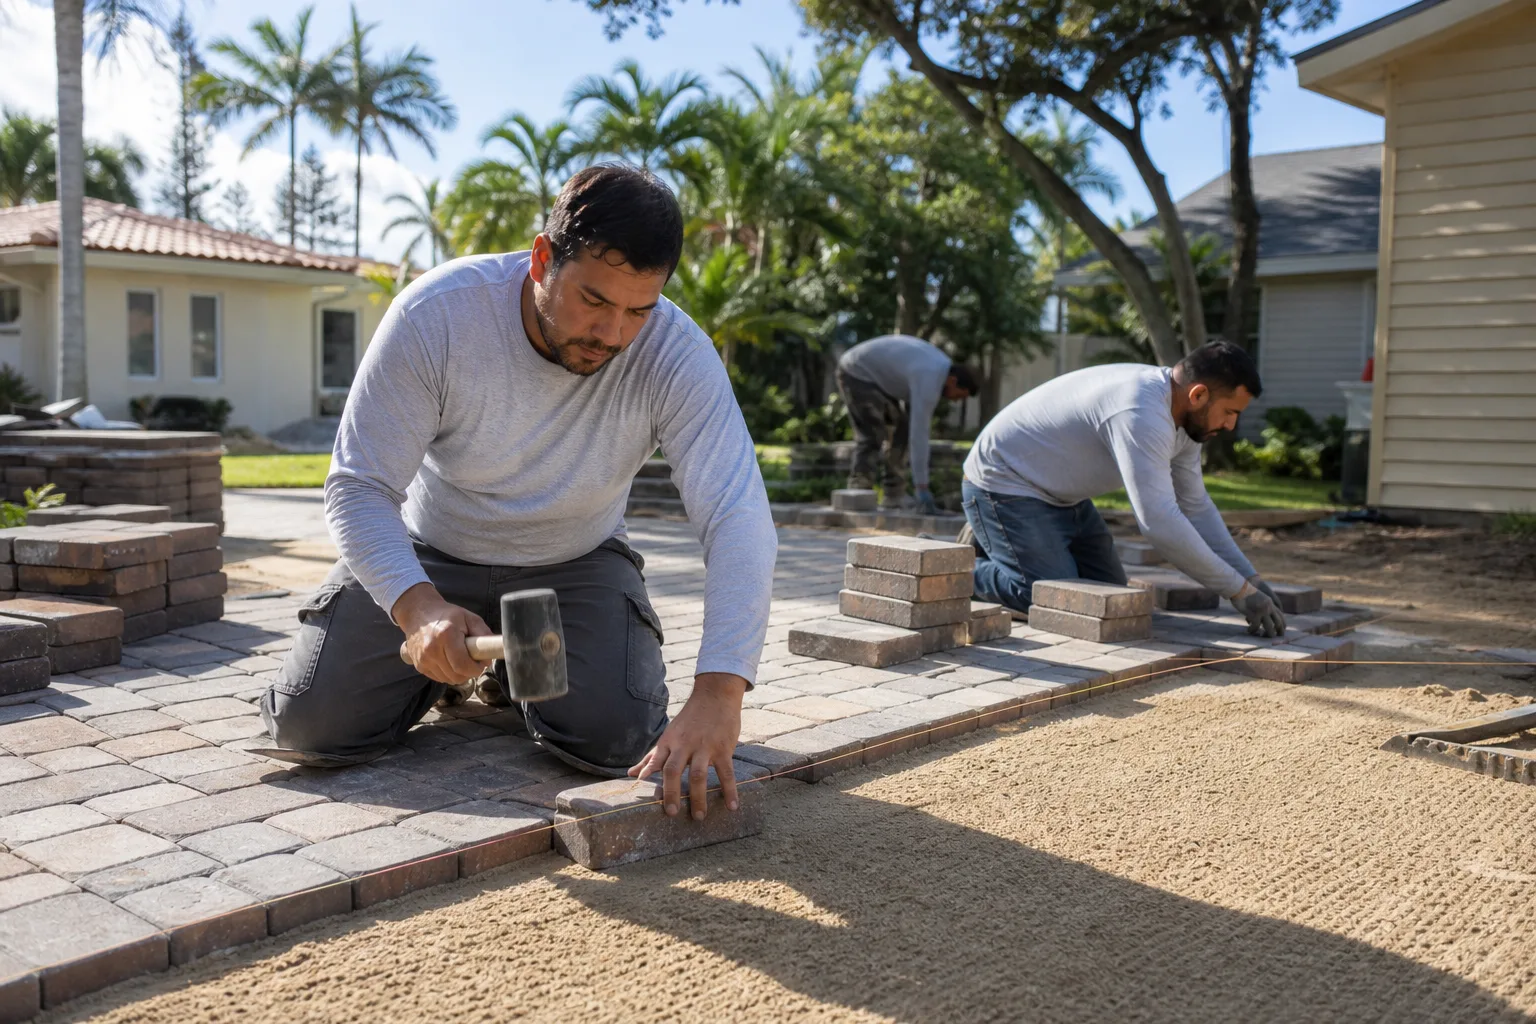
- Sounding test. Tap firmly with a rubber mallet or the handle of a hand trowel. A dull thud means the paver is seated. A hollow ring means air underneath – the unit is unsupported.
- Lift and inspect. Using two hands or a paver puller, lift the loose units. Look at the bedding layer. Fresh sand visible at the edges means the sand was never compacted, or it was washed out from below.
- Probe the substrate. Push a screwdriver gently into the exposed base under the lift. If it sinks easily, there’s a void; if it resists, you’ve got density. A void wider than a single paver requires lifting a panel of adjacent units, not just one.
- Re-bed in fresh sand. Sweep in a thin, even layer of concrete sand (not masonry sand – masonry sand holds too much moisture and won’t compact well) and set the paver back in place. Tamp it level with the surrounding field.
- Re-sand the joints and compact. Sweep new joint sand into the gaps and compact with a plate compactor. This is the step that determines whether the joint holds. Uncompacted joint sand moves on the first watering.
Brands matter at this stage. If you’re replacing units and the field is Tremron or Techo-Bloc, order pieces from the same line, because color and thickness vary between manufacturers enough to show along a driveway edge.
Base Settlement vs. Edge Restraint Failure: Reading the Pattern
The two failures look similar from five feet away and require very different repairs. The pattern of movement tells you which one you’re dealing with.
- Base settlement shows as a center depression – a gentle bowl in the middle of the driveway where the compacted aggregate underneath lost density. Water pools there after rain. You may notice standing water for a day or two after a storm. The pavers may be seated correctly at the perimeter but dip in the middle.
- Edge restraint failure shows as edge-inward creep. The pavers along the driveway edge push in toward the center of the field because the restraint – typically aluminum or plastic edge track pinned into the sub-base – has come loose, settled, or been pushed outward by a car bumper one too many times. You’ll see a gap at the edge, or pavers that have shifted so the pattern lines no longer align.
Center depression calls for lifting the affected field, re-grading the sub-base, and re-compacting. Edge creep calls for resetting or replacing the edge restraint and re-pinning it into the compacted sub-base. Resetting the pavers without fixing the effect is the repair people do most often and regret. In Torrance, homes built between the 1950s and 1980s often have concrete driveways poured over uncompacted fill; when a paver overlay was later added, the settlement under the original concrete shows up as the depression in the new surface. That’s a bigger job than a re-bedding.
If you’re comparing quotes and one contractor is proposing a full replacement and you suspect only edge repair is needed, it’s worth the second opinion. Rowan Construction Group offers a free second opinion on any written estimate, line by line, before you commit to the bigger number.
Joint Sand Washout and What It Really Signals
Joint sand is stabilizer, not the joint. It keeps the pavers from touching and moving against each other, and it blocks the migration of bedding sand underneath. When the joints empty out, the pavers begin to shift, and the field opens up.
If you’ve re-sanded more than once in three years, the sand isn’t being removed by normal wear. Something is pushing water through the joints. Common culprits we find in Torrance:
- Driveway gradients that drain toward the garage or a planter, sending water through the joints rather than off the surface.
- Downspouts discharging within a foot or two of the driveway edge, so the joint nearest the house gets the concentrated flow.
- Missing or degraded edge restraint letting sand migrate laterally out of the assembly under load.
A proper re-sand is a temporary fix; a re-sand after correcting the drainage is a permanent one. If the joint sand is gone and the pavers are seated and stable, a re-sand with a polymeric or stabilized joint sand (and proper compaction) will hold for years. If the joints are gone and the pavers are moving, re-sanding is throwing sand into a hole. Diagnose first.
Efflorescence in Coastal Climates
Efflorescence is the white, chalky haze that appears on concrete pavers and retaining walls. It’s mineral salts that have migrated to the surface as moisture moves through the paver and evaporates. The salts are in the mix, in the bedding sand, in the soil, or in the joint sand – and they’re carried to the surface by water.
In coastal Torrance, the combination of marine humidity, coastal fog, and winter rain produces efflorescence more often than on inland driveways. That dry-wet cycling moves moisture through the pavers at a faster rate, and each cycle deposits more salt at the surface.
What removes it: pH-neutral efflorescence cleaner – the milder the better, since you’re removing surface salts and not eating into the paver. Apply, dwell per directions, scrub with a soft masonry brush, rinse, repeat after two weeks if the haze comes back.
What removes it but costs you: acid-based cleaners. An acid wash will strip efflorescence faster than a neutral cleaner, but on some pavers it can etch the surface, lighten the color slightly, and damage the joint sand stabilizer. If your pavers are Techo-Bloc or Cambridge, check the manufacturer’s guidance before letting anyone acid-wash the surface. The trade-off is: faster removal now, shorter lifespan on the surface finish and joint stabilization.
When efflorescence keeps coming back after two neutral-cleaner treatments, the salts are still being introduced by moisture moving through the assembly from below – which points to a drainage or moisture-under-slab problem, not a cleaning problem. That’s base-layer territory.
Drainage and Grading: Where Water Actually Goes
Every driveway we look at has one critical drainage question: where does the water go when it can’t soak in? On a Torrance lot, the answer is usually the street or a landscape swale, and good grading is about directing the flow there without letting it run through the paver joints.
A properly graded paver driveway falls at roughly 2% away from the house and toward the drainage point; the exact slope is set at installation, not something to add after. Surface flow is meant to sheet off the pavers, not percolate through them. When driveways fail at the drainage layer, we see three patterns:
- Reverse grading. The driveway slopes toward the garage sill instead of away from it. Water pools at the garage door, and the joint sand at the door washes out first. Re-grading the affected section means lifting pavers, correcting the bedding depth, and re-compacting – not just adding sand.
- Downspout discharge. A 2-inch pipe discharging 18 inches from the driveway edge looks minor until you see the joint sand washed out over three feet in one rainy week. Redirect the discharge away from the pavers and re-sand the affected joints.
- No positive drainage at the low edge. Where the driveway meets the street or a side yard, there needs to be a defined outlet. If the pavers just end at grade with no edge drainage, the low edge will settle and creep. Edge restraints plus a defined drainage point are the fix.
For driveways we install, the drainage plan is part of the written scope before any pavers arrive on the site. It’s how we can quote a flat written price – because we know where the water is going before we start, and the surfacing choices (Tremron, Techo-Bloc, or Cambridge) are matched to what the grading will support. If you want the full installation picture, the Driveway & Pavers in Torrance page covers base prep, materials, and pricing in detail.
What Each Repair Should Cost
The single biggest variable in repair cost is whether the base is touched. Here are the ranges we quote, scoped by repair category. These are ranges, not a single figure – the actual quote depends on the square footage and how much of the substrate has to come up.
- Joint sand re-sand and compact: $250 – $650 for a typical residential driveway. Small in cost, but only worthwhile if the pavers are seated and the drainage is correct.
- Individual rocking paver reset (up to 8 units): $180 – $400. Covers lift, re-bed in fresh bedding sand, reset, new joint sand, and compaction.
- Edge restraint repair and re-pin: $350 – $800 for a typical driveway edge. Includes reset of the restraint, new pins into the compacted sub-base, and re-sanding along the edge.
- Localized base repair and re-bed (lift and reset a panel of pavers, correct the void in the sub-base, re-compact): $900 – $2,200 for a 50 to 150 square foot area.
- Section re-grading where drainage falls the wrong way: $1,200 – $3,000, depending on the length of the affected run and whether the edge restraint is rebuilt.
- Full removal and reinstall where the base is failed across the field: $6,000 – $14,000 for a typical 400 to 600 square foot driveway.
If a contractor quotes you “full driveway replacement” for a problem that looks like edge creep, get a second opinion. If a contractor quotes you a $300 re-sand for a driveway with visible center settling, get a second opinion too. In both cases the quote needs to match the diagnosis, and the diagnosis needs to name the layer. There’s a good reason the difference is worth a phone call: Rowan Construction Group writes the price before any work starts, and offers a free second opinion on any written estimate.
A Field Walkthrough: Diagnosing a Driveway in Eight Steps
This is the sequence we run on every street-facing paver driveway in Torrance. It takes about 15 minutes and it points you at the repair category before anyone quotes.
- Map the water. After a rain, walk the driveway and note where standing water persists and where it drains. Photograph it. This is the most valuable data you’ll get.
- Sounding check on the whole field. Tap every surface in a rough grid. Mark hollow spots in chalk. A cluster of marks of more than roughly 20% of the field points to base.
- Step test. Stand on the corner of each paver that sounds hollow. Movement is the confirmation.
- Edge inspection. Look for gaps at the perimeter and pavers that have crept inward or outward. A loose edge restraint will show movement even without a bounce.
- Joint check. Are joints full, partially full, or empty? Uniform emptiness points to drainage. Local emptiness points to lateral movement or edge loss.
- Efflorescence check. Is the white haze uniform or patchy? Patchy haze concentrated in the low area signals moisture pooling – check drainage first, clean second.
- Photos and measurements for the quote. Note the approximate area affected and the distance to the nearest drainage point. This turns “the driveway’s a mess” into a scope.
- Cross-check with a line-item quote. Compare the diagnosis you’ve reached against the contractor’s written scope. If the quote says “fix driveway” with no layer named and no line-item price, that’s not a quote. It’s a placeholder.
For the full picture of what installation and material selection look like from the start, the Rowan Construction Group Torrance home page lays out how the written price, the line-item scope, and the photo record work together across all seven trades. Since paver work and adjacent hardscape almost always overlap, the crew you choose should also be able to handle the Fence Installation in Torrance scope that borders the driveway.
Common Mistakes to Avoid
- Re-sanding without fixing the drainage first. This is the most expensive $300 a homeowner can spend. Re-sand a moving joint, and you’ll re-sand again next spring.
- Power-washing to clean pavers. A pressure washer at 2,500+ psi removes joint sand, strips the surface finish on some pavers, and opens the joint to more sand loss. Use a garden hose and a soft brush.
- Spreading sand over a field that’s moving. If the pavers rock, sand stays on top and looks fixed. It doesn’t seat them. The next rain exposes it.
- Assuming efflorescence is a cleaning problem. In Torrance, patchy efflorescence on the low side of a driveway almost always correlates with the water pooling pattern. Clean it after you’ve corrected the flow, not before.
- Accepting a quote with no layer named. A written quote should say “edge restraint reset and re-pin” or “base repair, lift and reset 80 sf” – not “driveway repair.” If it doesn’t, the scope isn’t complete.
- Replacing pavers without matching manufacturer. Tremron, Techo-Bloc, Cambridge Pavers, and Oldcastle all run slightly different color and thickness profiles. A mismatched batch shows along the edge or repair seam, and thickness differences show at the joint line.
- Skipping compaction on a small reset. A paver dropped into fresh sand and tapped by foot will settle over the next rain. Plate compaction is what locks it in.
See the difference
 Before
 After
 Before
 After
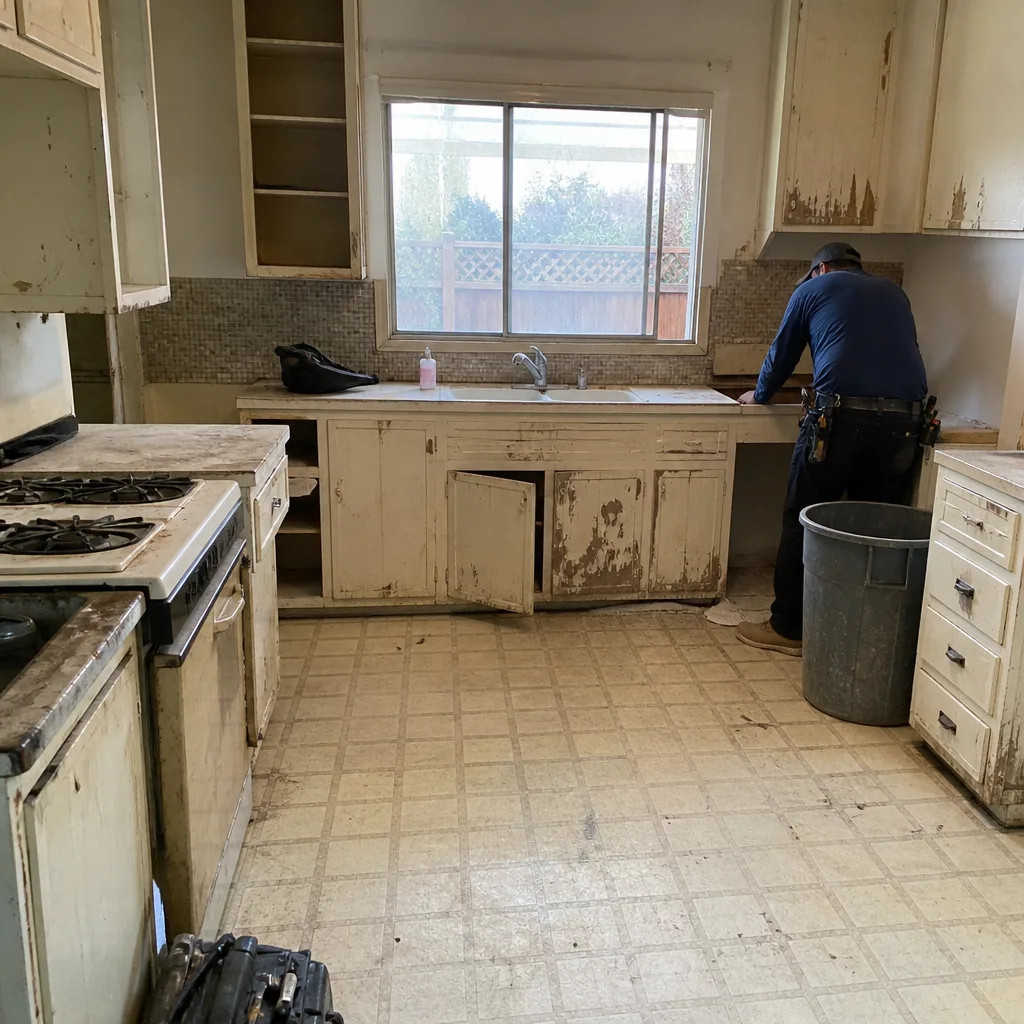 Before
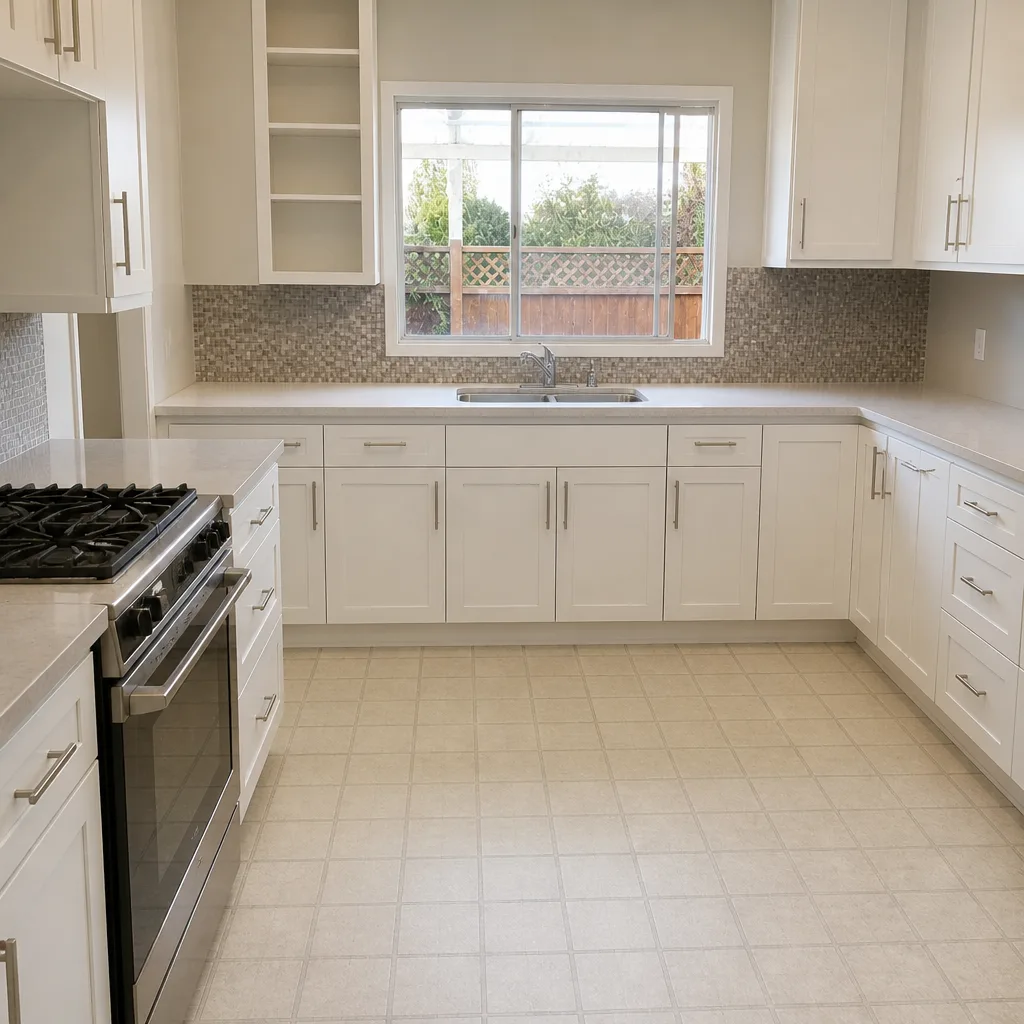 After
When to Call a Professional
Some driveway problems are within the scope of a careful homeowner with a plate compactor and a free Saturday. Others are not. Call in a professional when the affected area is larger than a couple of pavers, when the movement is concentrated in a cluster, or when the problem has recurred after one repair. Also call when the fix involves lifting pavers on a slope – the risk of a partial field coming away under load isn’t worth the savings. And call when the issue is under a garage door tract, where the driveway ties into the house foundation. On any paver repair, the lift-and-reset sequence involves plate compaction and joint sand suppression that a homeowner shouldn’t attempt untrained; we always say that plainly, because we’ve seen the alternative.
We’ve seen every failure pattern in this guide at our Torrance projects, and we can usually scope the repair from a walkthrough and photos. Rowan Construction Group offers free estimates in Torrance. Call (888) 349-6729 to schedule yours, and ask for the photo record with the written quote – it’s part of the standard, not an extra.
Frequently Asked Questions
Driveway paver repair in Torrance typically ranges from $180 – $400 for a small rocking paver reset to $6,000 – $14,000 for a full driveway reinstall when the base has failed. The single biggest cost variable is whether the base layer is touched. Call (888) 349-6729 for an exact quote – estimates are free.
No. The written price is what you pay. If the scope changes mid-project – for example, if lifting pavers reveals a larger void than the sounding test could show – a written change order is prepared and signed before any additional work begins. That’s the discipline behind every quote we write.
When a driveway or hardscape project requires a permit in Torrance, we handle the permit application and the inspection as part of the scope. Most paver repairs and re-sands don’t require a permit; driveway re-grading and drainage work that involves the public right-of-way may. The written scope names which is which. Call (888) 349-6729 to confirm the permit path for your address.
A joint re-sand is a half-day job on a typical driveway. A rocking paver reset for up to 8 units is roughly a half-day with cure and compaction. A localized base repair is a one- to two-day job. A section re-grade or full replacement is three to five days, more if the edge restraint is rebuilt. Call (888) 349-6729 for a timing estimate against your specific scope.
Usually, yes – for the initial diagnosis. The sounding test and the pattern of movement both photograph well, and that’s what a first walkthrough establishes. The in-person verification still matters, because the depth of a void can’t be measured from a photograph. That’s why we include a documented photo record on every visit rather than asking you to trust a verbal description.
The manufacturer, the base prep, and the edge restraint. A driveway built with Tremron or Techo-Bloc set over a properly compacted aggregate base and a pinned edge restraint will go years without a footprint. A driveway with the same pavers over an uncompacted base will show settlement in the first two winters. The paver brands are visible; the base isn’t. That’s why we describe the base prep in the written scope. Call (888) 349-6729 and we’ll walk you through the spec before you sign anything.
The Bottom Line
Most paver failures come back to one of three layers: the base, the drainage, or the edge restraint. The surface symptoms – rocking, sand loss, efflorescence, edge creep – are diagnostic clues, not the repair itself. The sounding test, the movement pattern, and the water map will point you at the right layer before anyone quotes. When you’re ready to price the repair, ask for a written quote that names the layer and the square footage. Rowan Construction Group handles paver repair and installation across Torrance, with a written price before any work starts and a free second opinion on any written estimate you’ve already got.
Call Rowan Construction Group at (888) 349-6729 for a free estimate on your driveway paver repair, and we’ll bring the sounding test, the photo record, and a line-item scope. If you’re planning a larger scope – a new driveway plus an ADU pad or addition – the Home Additions & ADU in Torrance page shows how the hardscape and foundation work are sequenced together.
Written by the team at Rowan Construction Group Torrance.