Last updated November 17, 2026
Free written scope consultation - allowances, timeline, and change-order rules on paper before a single trade is scheduled
Driveway & Pavers Maintenance Schedule: What to Do and When
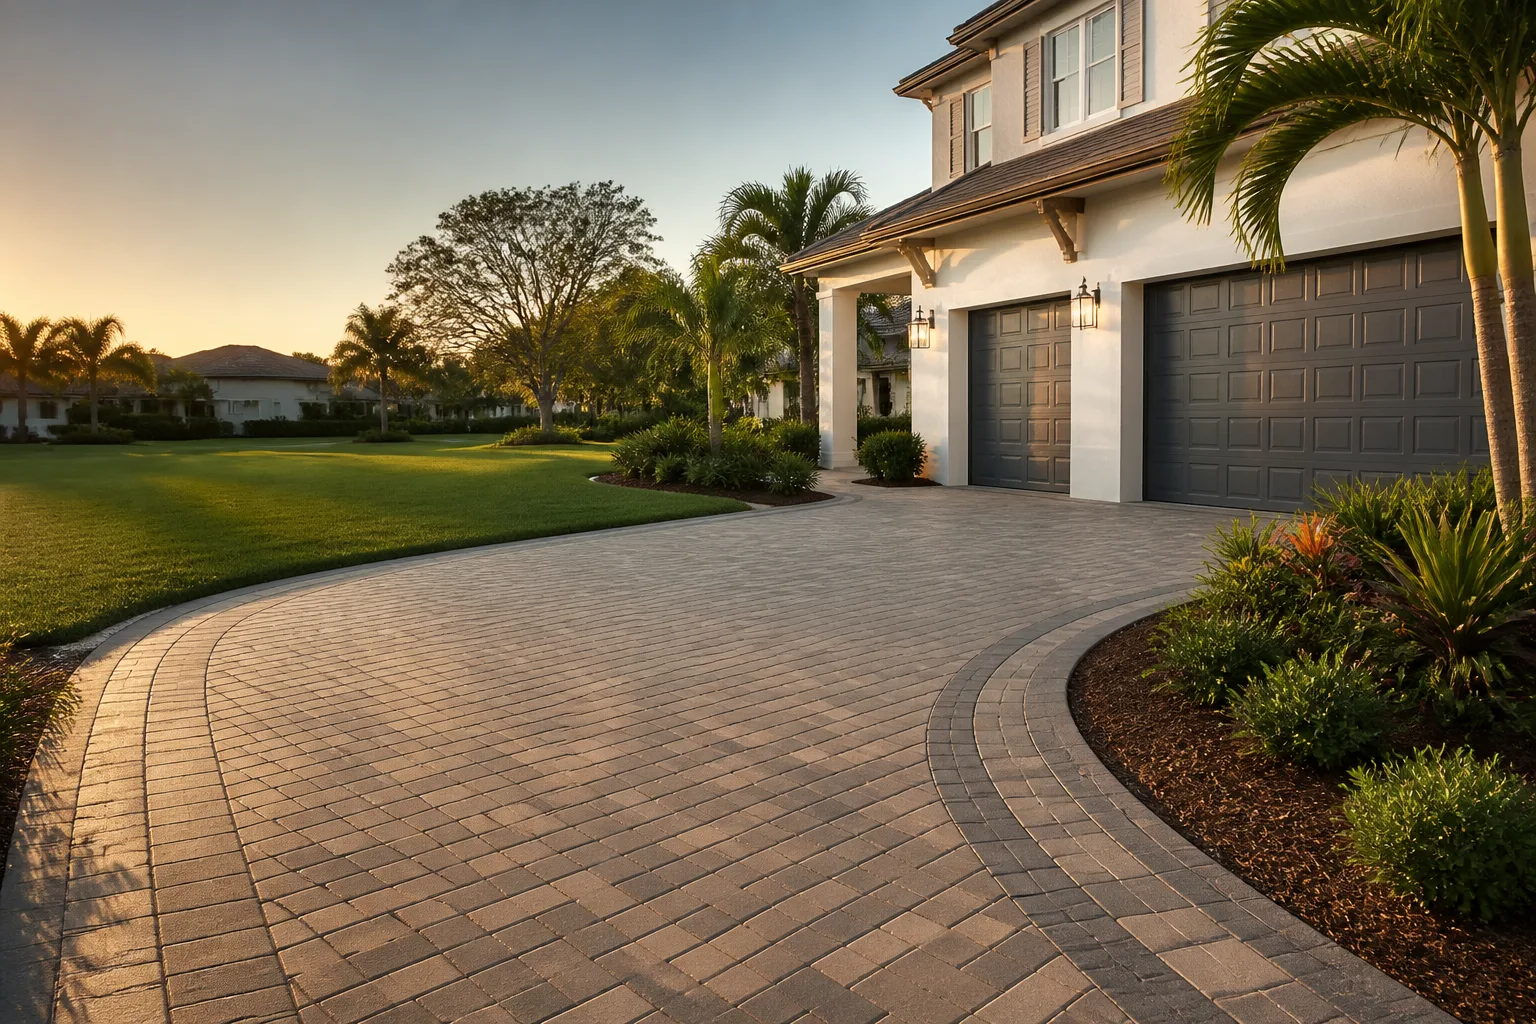
The single most expensive paver maintenance mistake is skipping polymeric sand reapplication the year it first shows gaps. Once the joints open, water reaches the base layer every rainy season after that, and what would have been a bag of sand and an afternoon becomes a settling, heaving, re-installation project. A paver driveway has four distinct maintenance windows per year, and the tasks at each one are different enough that conflating them is how minor joint erosion becomes a decade-long problem. This guide lays out a month-by-month schedule built around Torrance’s actual weather calendar: a wet season from November through March, a dry heat stretch in late summer, and the mild coastal stretches in between. You’ll get inspection tests you can run in two minutes, sealer intervals with real cost figures, and a maintenance log format that pays off when you sell.
Quick Answer
A paver driveway should be inspected four times a year, on a schedule timed to Torrance’s seasons: a full inspection and joint-sand check in October before the rains, a mid-wet-season check in January, a post-winter clean and re-sand in April, and a sealer and edge-restraint review in July or August. Deep cleaning happens once a year, sealer reapplication every 1 to 5 years depending on the product, and edge restraint gets a look at every window.
Styles & brands we work with
- Kitchen remodeling
- Bathroom remodeling
- Home additions & ADU
- Roofing
- Windows & doors
- Driveway & pavers
- Fence
Table of Contents
- Why Torrance Driveways Age Differently
- The Month-by-Month Paver Maintenance Calendar
- How to Test Joint Sand Depth With a Screwdriver
- Sealer Selection and Reapplication Intervals
- The Annual Edge Restraint Check
- Cleaning, Weeding, and Stain Removal
- The Maintenance Log That Protects Resale
- What Paver Maintenance Costs in Torrance
Why Torrance Driveways Age Differently
Torrance sits close enough to the coast that marine layer moisture settles on hardscape most mornings from May through July, and far enough inland in neighborhoods like Old Torrance and North Torrance that summer afternoons still bake a west-facing driveway. That combination is harder on pavers than either condition alone. Morning damp creeps into open joints and feeds algae and moss along the shaded north edge of a driveway; afternoon heat then expands the pavers and dries the surface, cycling the joint sand between wet and dry dozens of times a season.
The rain pattern matters more. Torrance gets most of its annual moisture in a handful of concentrated storms between November and March, often arriving on already-saturated ground. When joints have lost their sand, that water has nowhere to go but down into the bedding layer, and the base beneath it. Once the base softens, pavers rock under a tire, sand migrates further, and the dip grows. In our experience across the South Bay, a driveway in the Hollywood Riviera or Walteria area that goes two wet seasons without a re-sand develops visible settling at the apron within about three years.
Clay soils common in parts of the South Bay make this worse, because saturated clay holds water against the base rather than draining it away. That’s why the October inspection before the first storm carries more weight here than a generic “spring cleanup” ever would. The work you do in fall is what protects the base through winter, and the base is the part of a paver driveway you can’t see and can’t cheaply replace. If settling has already started, that’s a job for a crew rather than a homeowner with a broom, and you can see how we approach full driveway work on our Driveway & Pavers in Torrance page.
The Month-by-Month Paver Maintenance Calendar
This is the schedule we’d hand a homeowner in Torrance if we were leaving their finished driveway. It’s built around four maintenance windows, each with its own task list.
Window 1: October (Pre-Wet-Season Reset)
- Walk the full driveway and mark any paver that rocks underfoot with chalk.
- Run the screwdriver joint-sand test (below) at five points: both aprons, the center, and both edges near the house.
- Re-sand all joints that fail the test with polymeric sand, filling to roughly 1/8 inch below the paver chamfer.
- Clear gutters and downspouts so storm runoff isn’t dumped onto the driveway edge.
- Check edge restraint at the driveway apron and along any planting bed.
- Pull weeds by hand and spot-treat joints with a paver-safe herbicide, not a broadleaf spray that stains.
Window 2: January (Mid-Season Check)
After the first serious storm, walk the driveway once. You’re looking for two things: low spots where water pooled and stayed for more than a few hours, and any new sand loss along the wheel tracks. Re-sand bare strips now rather than waiting for spring. A bag of polymeric sand and twenty minutes in January saves a much bigger repair in April.
Window 3: April (Post-Winter Clean and Re-Sand)
This is the deep-clean window. Sweep or blow off winter grit, wash the surface with a paver cleaner rated for the material, and re-sand any joints that winter storms scoured out. April is also the right time to assess any settling that showed up over the wet months. If a paver has dropped more than about 1/8 inch relative to its neighbors, the bedding under it has likely shifted and needs to be reset, not just re-sanded.
Window 4: July or August (Sealer and Edge Review)
Dry heat and long daylight make mid-summer the best window for sealing, because the pavers need to be bone dry before product goes down and the cure window is predictable. This is also when you do the thorough edge restraint review and decide whether the driveway is due for its next sealer coat. Keep in mind that a Torrance driveway on the inland side can hit surface temperatures that make a film-forming sealer tacky for hours, so early morning application is the safer call.
How to Test Joint Sand Depth With a Screwdriver
A standard flathead screwdriver tells you in about two minutes whether your joints need sand this season. Push the tip straight down into a joint until it stops, then look at how much of the shaft went in before it met resistance.
- Less than 1/4 inch of loose sand before solid resistance: the joint is full. No action needed.
- 1/4 to 1/2 inch of loose or missing sand: re-sand this season, before the next storm.
- More than 1/2 inch, or the screwdriver sinks easily past the paver depth: the joint has washed out to the bedding layer. Re-sand, and check the base under any paver that rocks.
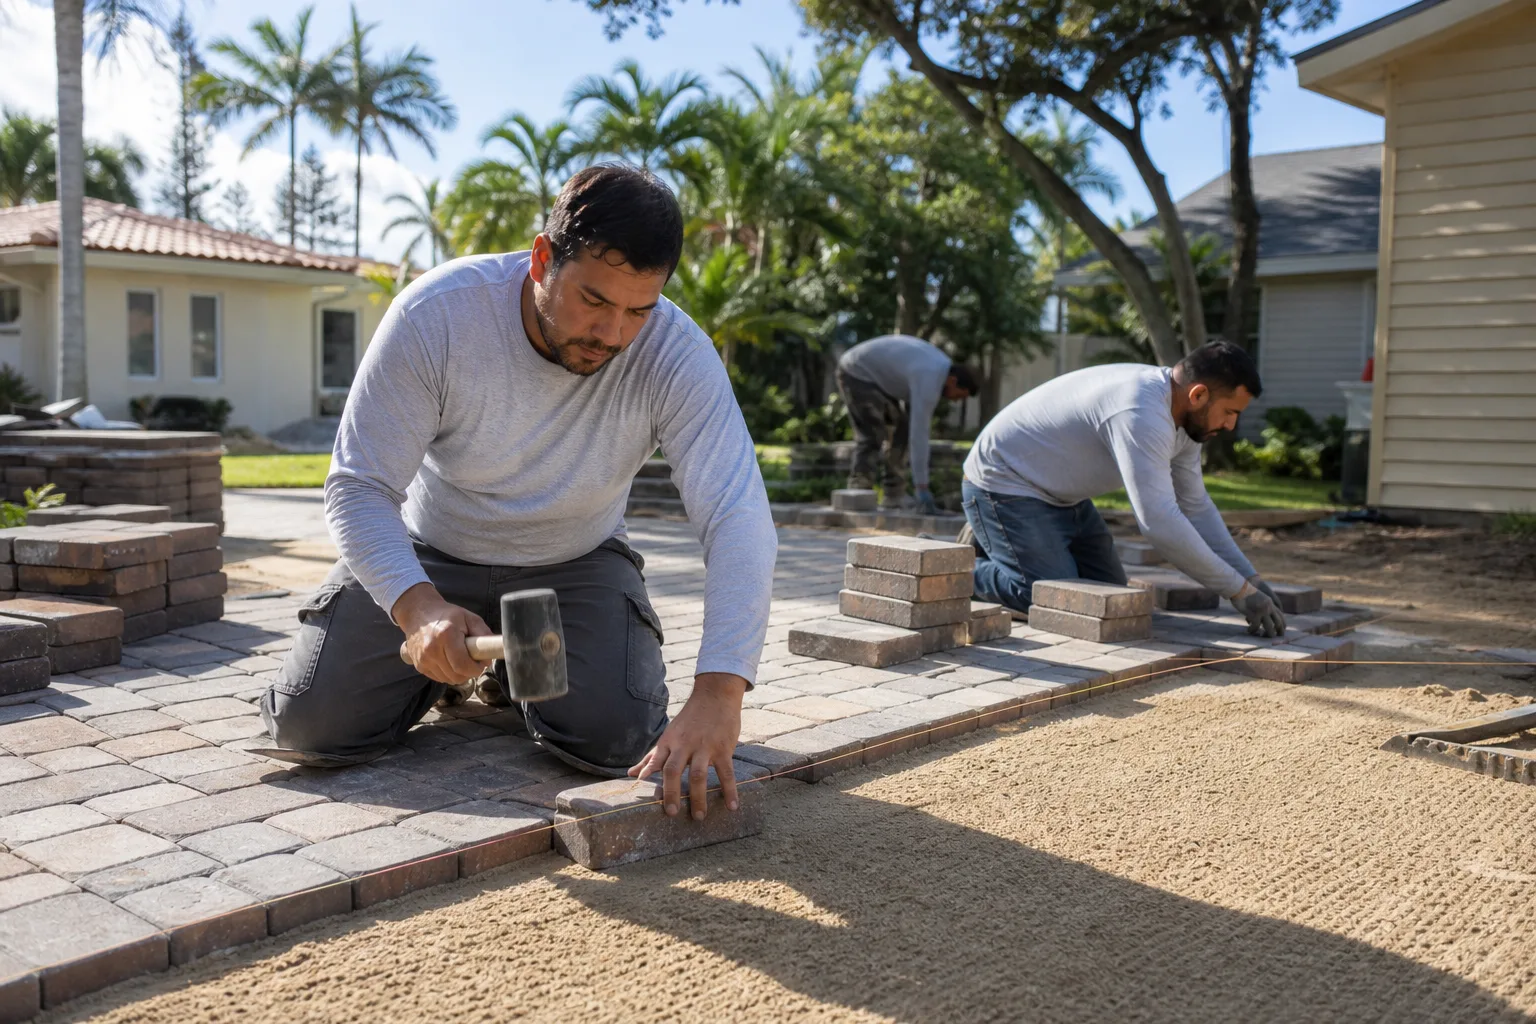
Test at least five spots, because joint loss isn’t uniform. The wheel tracks of a driveway wear fastest, and the apron where the driveway meets the street takes the most runoff. If you find one deep joint and four full ones, re-sand the whole area anyway so the new sand locks in with the old. Polymeric sand needs to be swept into joints, misted to activate the binder, and left undisturbed for the cure time on the bag, usually 24 hours. Don’t walk or drive on it before then. And don’t top off a joint that’s still holding old, partially cured sand; scrape it out first so the new material can bond.
Sealer Selection and Reapplication Intervals
Two families of sealer do two different jobs, and picking the wrong one for a Torrance driveway is a common and expensive error.
- Penetrating sealers soak into the paver surface and block water absorption without forming a film. They last 3 to 5 years, don’t peel, and leave the pavers looking natural. Expect roughly $250 to $450 per 500 square feet applied by a crew, or $100 to $200 in product if you do it yourself. Brands like Foundation Armor and Techniseal make penetrating products widely used in the South Bay.
- Film-forming sealers sit on top and give a wet-look or gloss finish. They need reapplication every 1 to 2 years, and they can peel or haze if moisture is trapped underneath. Expect roughly $300 to $550 per 500 square feet applied, higher for gloss finishes.
For most Torrance driveways, we recommend a penetrating sealer. The marine layer moisture here is exactly the condition that causes film-forming products to cloud, and a driveway that’s shaded in the morning and sunbaked in the afternoon puts a film under constant stress. If you want the wet look, a film-forming sealer can work, but plan on the 1-to-2-year cycle and apply it only in dry, moderate weather. Either way, the pavers must be completely dry and cleaned before sealing; sealing over damp pavers or trapped dirt is how you get a milky finish that has to be stripped off. Never seal a driveway within 24 hours of rain, and check the forecast for a dry window of at least two days.
The Annual Edge Restraint Check
Edge restraint is the concrete or plastic curb, pinned with spikes, that holds the outer row of pavers from spreading. It’s the least visible part of the driveway and the one that fails first at the apron, where tires roll over it and runoff pushes against it.
Once a year, in the July or August window, walk the perimeter and check three things:
- Movement. A properly set edge restraint doesn’t move when you push on it with your foot. A little flex is normal on a plastic restraint; visible shifting of the curb itself is not.
- Spike condition. Look for spikes that have backed out of the ground. A spike head sitting proud of the restraint needs to be re-driven; a spike that pulls out easily has lost its grip and should be replaced with a longer one.
- Gaps. Any gap between the restraint and the outer paver row lets sand escape and water in. Fill it with polymeric sand and re-seat the restraint.
If the edge has shifted more than about 1/4 inch at the apron, don’t just push it back. That movement usually means the base under the edge has softened, and the fix is to pull the outer course, re-compact the base, and reset the restraint. This is the kind of repair that’s cheap when it’s caught in year one and becomes a partial re-installation if it’s left for three years. If you’re also planning a fence or gate along the driveway edge, timing the two projects together can save on tear-out, which is why some homeowners pair this work with Fence Installation in Torrance.
Cleaning, Weeding, and Stain Removal
Routine cleaning is the cheapest maintenance you can do, and it’s the one most homeowners skip. A quarterly sweep or leaf-blower pass removes grit that works its way into joints and abrades the paver surface. Once a year, in April, do a proper wash with a paver-safe cleaner and a stiff brush or low-pressure washer. Keep the pressure wand moving and stay off the joints; a high-pressure jet aimed at a joint will blow the sand out faster than any storm.
For stains, match the treatment to the cause:
- Rust (common near irrigation heads and old metal edging): a dedicated rust remover for pavers, not bleach.
- Oil and tire marks: a degreaser or poultice, applied and left to draw the stain out, then rinsed.
- Efflorescence (the white haze that can appear on new pavers or after wet winters): a efflorescence remover, followed by a dry stretch before sealing.
- Moss and algae on shaded edges: a diluted paver-safe cleaner and a stiff brush; avoid anything that leaves a residue that interferes with sealer.
Weeding deserves a specific note. Pull weeds by hand when they’re small, and don’t rely on a broadleaf herbicide sprayed across the surface, which can stain pavers and damage nearby planting. Polymeric sand is the real weed defense. A joint that’s full of properly cured sand leaves weeds nowhere to root, which is why the October re-sand does more for weed control than any spray.
The Maintenance Log That Protects Resale
Keep a written log of every maintenance task, and keep it somewhere you’ll actually find it at resale: a folder in the cloud, a note on your phone, a page in the home file. The log is what turns “the driveway looks fine” into a documented history.
Record these fields for every entry:
- Date and which maintenance window (October, January, April, July/August).
- What you inspected and what you found, in plain terms: “joint sand low at apron, 3/8 inch; re-sanded whole driveway.”
- Products used, with brand and product name (polymeric sand, sealer, cleaner).
- Any repair, with scope and who did it.
- Photos of the driveway at the start and end of the task.
Why it matters: when you sell a home in Torrance, the disclosure package asks about the condition of hardscape and any repairs. A log with dates and photos lets you answer those questions with evidence instead of a guess, and it shows a buyer that the driveway has been maintained rather than left to weather. It also protects you if a buyer’s inspector flags something cosmetic and tries to negotiate a credit for a full replacement. A dated re-sand and seal record is often the difference between a small conversation and a five-figure credit. If a professional does any of the work, ask for a written scope and a photo record of what was found and what was done; it belongs in the same log.
What Paver Maintenance Costs in Torrance
Most of this schedule is homeowner work, and the costs are modest. Here’s what the line items run in the Torrance market, as ranges, so you have a number to compare against any quote.
| Task | Typical DIY cost | Typical pro cost | Frequency |
|---|---|---|---|
| Polymeric sand re-sand (whole driveway, ~500 sq ft) | $40-$90 in sand | $150-$350 | Annually, or when the screwdriver test fails |
| Penetrating sealer, applied | $100-$200 product | $250-$450 | Every 3-5 years |
| Film-forming sealer, applied | $120-$250 product | $300-$550 | Every 1-2 years |
| Deep clean and wash | $30-$80 in cleaner | $150-$300 | Once a year |
| Edge restraint spike re-set / replacement | $20-$50 in spikes | $100-$250 | As needed, usually at the apron |
| Settled paver reset (spot repair) | – | $200-$500 | As needed |
These are maintenance ranges for a driveway that’s in good structural shape. If the base has failed, that’s a different conversation, and the honest way to price it is with a written scope after someone has looked at the substrate. We don’t do “call for a quote” here; under Clause 1 of the Haven Standard, the price is written before anyone starts, and no change proceeds on a repair until the change order is signed. That discipline is the reason projects finish within a few percent of the number the customer agreed to. It also means a maintenance quote you get from us is a flat number with a written scope, not an hourly guess.
Common Mistakes to Avoid
- Skipping the re-sand the year joints first open. This is the mistake that costs the most. One season of open joints lets water into the base, and the repair escalates from sand to a partial re-installation.
- Sealing over damp or dirty pavers. The marine layer in Torrance leaves pavers damp most mornings, so a sealer applied at 9 a.m. can trap moisture and cloud. Wait for a dry surface and a dry forecast.
- Pressure-washing the joints out. Blasting a joint with a high-pressure wand blows the sand out faster than any storm. Keep the wand moving and stay off the joints.
- Ignoring the apron. The driveway apron takes runoff and tire traffic, and it’s where edge restraint and sand fail first. Check it at every window, not just in spring.
- Using a broadleaf herbicide on weeds in the joints. It can stain pavers and damage nearby plantings. Pull weeds by hand and rely on full joint sand.
- Treating all pavers as one material. Belgard, Techo-Bloc, and clay pavers take different cleaners and sealers. Check the manufacturer’s spec before you apply anything.
- Not keeping a log. A driveway with no maintenance history is a question mark at resale. Dated records with photos answer the question before it’s asked.
If you’re planning a larger hardscape or outdoor project, some of these maintenance windows line up nicely with other work. A detached garage, studio, or accessory unit changes the runoff pattern across a driveway, so it’s worth thinking through drainage at the same time; our Home Additions & ADU in Torrance page covers how we sequence that kind of project. Modern prefab options from companies like Plant Prefab and Mighty Buildings are also worth a look if a backyard structure is on your list, because their site planning still has to account for how water moves across the existing hardscape.
See the difference
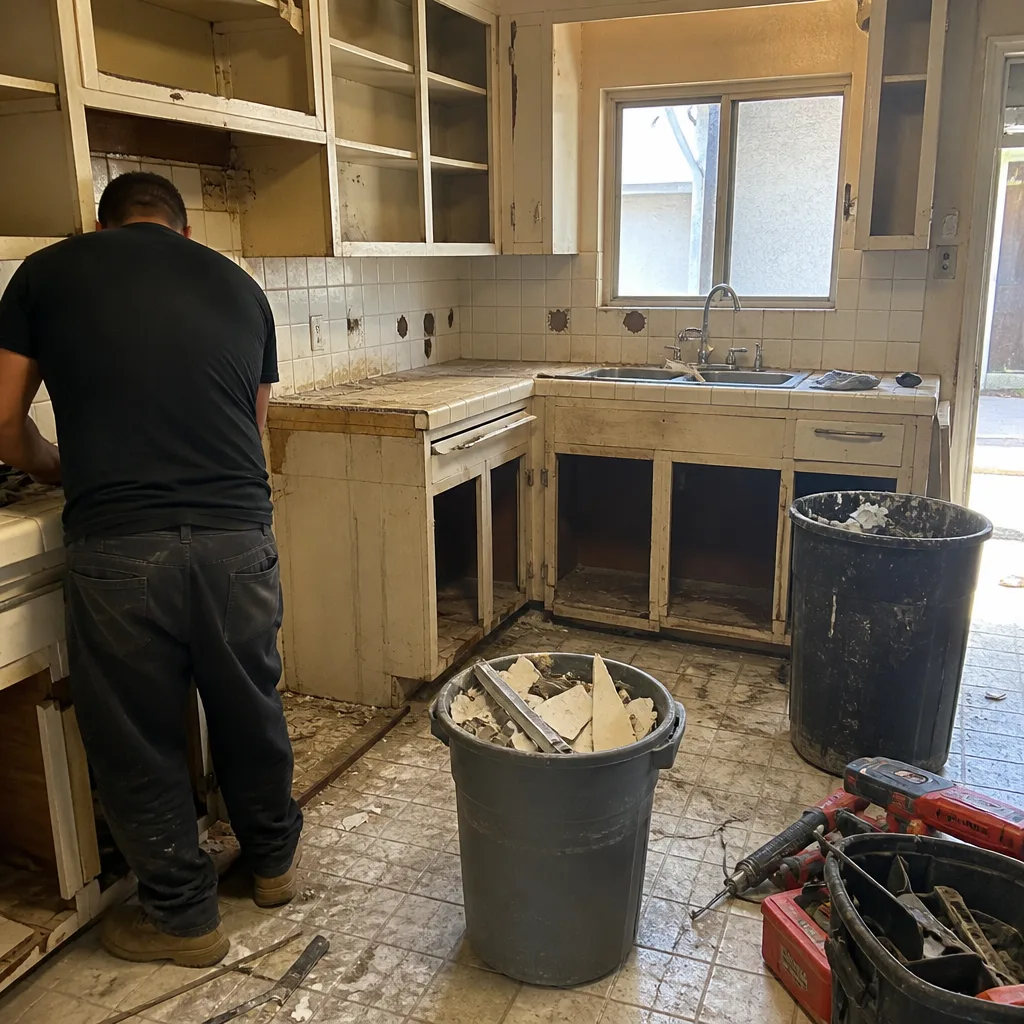 Before
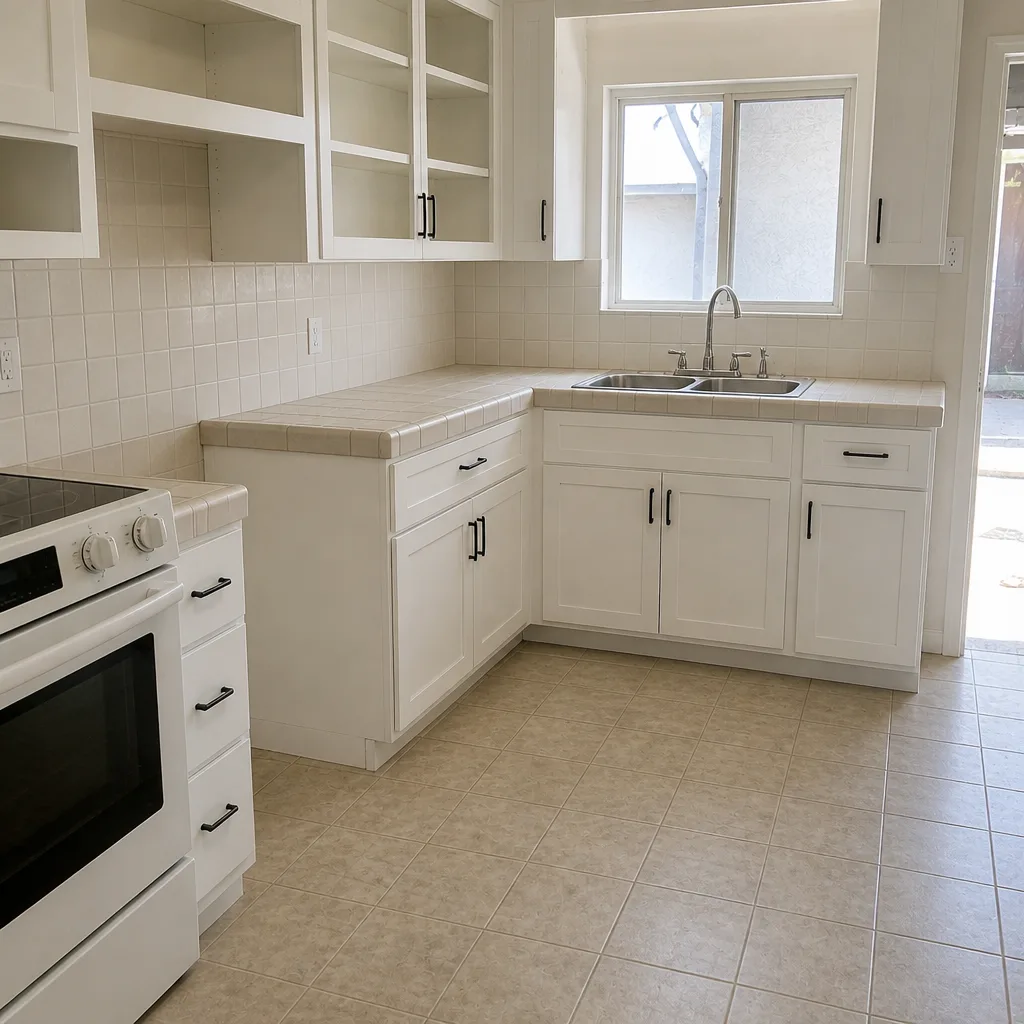 After
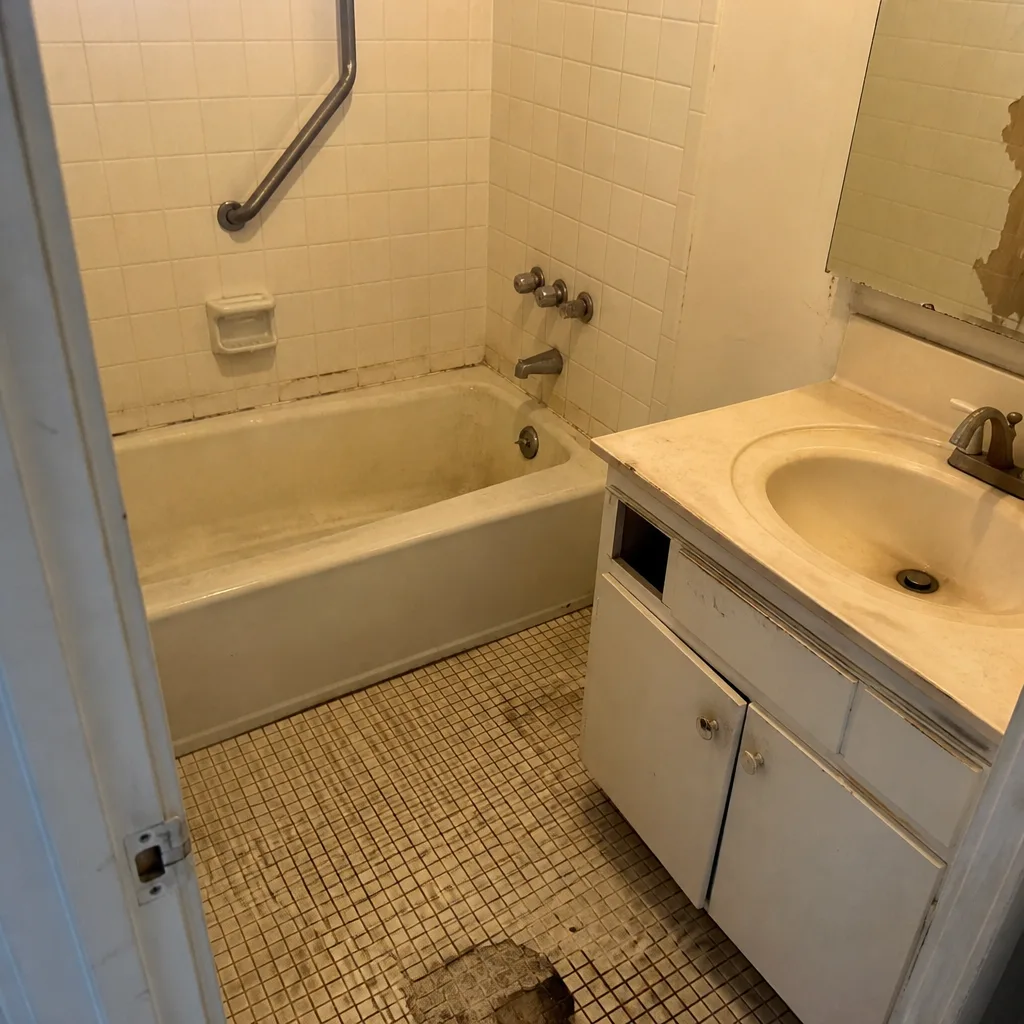 Before
 After
 Before
 After
When to Call a Professional
Most of the schedule above is manageable by a homeowner with a screwdriver, a broom, and a bag of polymeric sand. Call a professional when the problem is below the surface. That means pavers that rock underfoot, a settled dip that holds water for hours after a storm, edge restraint that has shifted more than about 1/4 inch, joint sand that keeps washing out no matter how often you re-sand, or a base that feels spongy after rain. Those are signs the bedding or base layer has failed, and re-sanding over a failed base just hides the problem for a season. If your driveway is also the access route for a larger project, sequencing matters; our Rowan Construction Group Torrance home page lays out the trades we run and how they fit together. Rowan Construction Group Torrance offers free estimates in Torrance: call (888) 349-6729 and we’ll put a written number in front of you before any work starts.
Frequently Asked Questions
Re-sand once a year as a baseline, timed to October before the wet season, and again in April if winter storms scoured the joints. Test with a screwdriver at five points; if any joint has more than 1/4 inch of loose or missing sand, re-sand that area now rather than waiting. Call (888) 349-6729 for a free estimate if the sand keeps washing out.
Annual maintenance runs roughly $150 to $350 for a pro re-sand and $150 to $300 for a deep clean, with sealer adding $250 to $550 depending on the product. A full DIY year is usually under $200 in materials. Call (888) 349-6729 for a written quote on your specific driveway.
For most Torrance driveways, a penetrating sealer is the better choice because it lasts 3 to 5 years, doesn’t peel, and handles marine-layer moisture without clouding. Film-forming sealers give a wet look but need reapplication every 1 to 2 years and can haze if applied over damp pavers. Call (888) 349-6729 for a free second opinion on any written estimate.
No. Under the Haven Standard, the price is written before anyone starts, and no change proceeds until the change order is signed. That’s the discipline that has kept projects within a few percent of the agreed cost across our work since 2007. Call (888) 349-6729 to schedule a free estimate.
Whether a permit is required depends on the scope: a maintenance re-sand or sealer coat typically doesn’t need one, while a full driveway replacement or work affecting drainage and grading may. We handle the permit question as part of the written scope, so you know before work starts. Call (888) 349-6729 for a free estimate.
Watch for pavers that rock underfoot, a dip that holds water for hours after a storm, edge restraint that has shifted, or joints that lose sand faster than you can re-fill them. Those point to a base problem, not a surface one, and re-sanding won’t fix them. Call (888) 349-6729; estimates are free, and we’ll tell you in plain terms what we found.
The Bottom Line
A paver driveway in Torrance needs four maintenance windows a year, not one seasonal sweep. October is the reset before the rains; January is the mid-season check; April is the deep clean and re-sand; July or August is the sealer and edge review. The screwdriver test tells you in two minutes whether joints need sand. Penetrating sealer lasts 3 to 5 years; film-forming needs reapplication every 1 to 2. Check the edge restraint at every window. And keep a dated log, because a documented maintenance history answers resale questions with evidence rather than a guess. The cheapest repair is always the one you catch in year one. Call Rowan Construction Group Torrance at (888) 349-6729 for a free estimate.
Written by the team at Rowan Construction Group Torrance.