Last updated November 17, 2026








Free written scope consultation - allowances, timeline, and change-order rules on paper before a single trade is scheduled
Bathroom Remodeling Troubleshooting: Common Problems and How to Fix Them
Grout cracking along the tub-to-tile joint within 12 months of a remodel isn’t a grout problem. It’s a movement joint problem. That joint has to be caulked, not grouted, because a tub and the tile wall above it move at different rates – and any contractor who grouted it flat built a failure into the job on day one. Most bathroom remodel failures trace back to three decisions made in the first week of construction: substrate choice, waterproofing method, and drain connection. The symptoms just don’t show up until year two or three. This guide teaches you to identify whether a finished bathroom in Torrance was built to last or built to look good on inspection day.
Quick Answer
Most bathroom remodel problems that appear in the first three years – grout cracking, tile hollowing, musty odor, caulk failure, vanity swelling – are traceable to installation errors rather than wear and tear. The fix depends on root cause: grout cracks at movement joints need silicone caulk instead of grout, hollow tile needs removal and rebonding, and a bathroom that stays damp after a remodel usually has a fan or duct problem you can verify with a CFM check. Get the diagnosis right before you call anyone.
Styles & brands we work with
- Kitchen remodeling
- Bathroom remodeling
- Home additions & ADU
- Roofing
- Windows & doors
- Driveway & pavers
- Fence
Table of Contents
- The Five Failure Patterns We See Most in Torrance Bathrooms
- How to Tap-Test New Tile for Hollow Spots
- Substrate and Waterproofing: The Decisions That Decide Everything
- Damp Bathroom After Remodel? Run the Ventilation Troubleshooting Sequence
- The Three Documents You Need for a Warranty Claim
- Warranty Item, Maintenance Failure, or Separate Trade? Drawing the Line
- Drain Connection Problems and What They Cost to Correct
The Five Failure Patterns We See Most
Across thousands of bathrooms, the same five problems keep showing up. Each has a specific root cause, and each looks like something it isn’t until you trace it back to installation.
- Grout cracking at joints. Grout is rigid. Tub, floor, and wall framing all move at slightly different rates, so any joint at a plane change needs a flexible sealant. When it cracks in a straight line along the tub edge, that’s movement, not grout quality. The fix is removing the grout and filling the joint with 100% silicone.
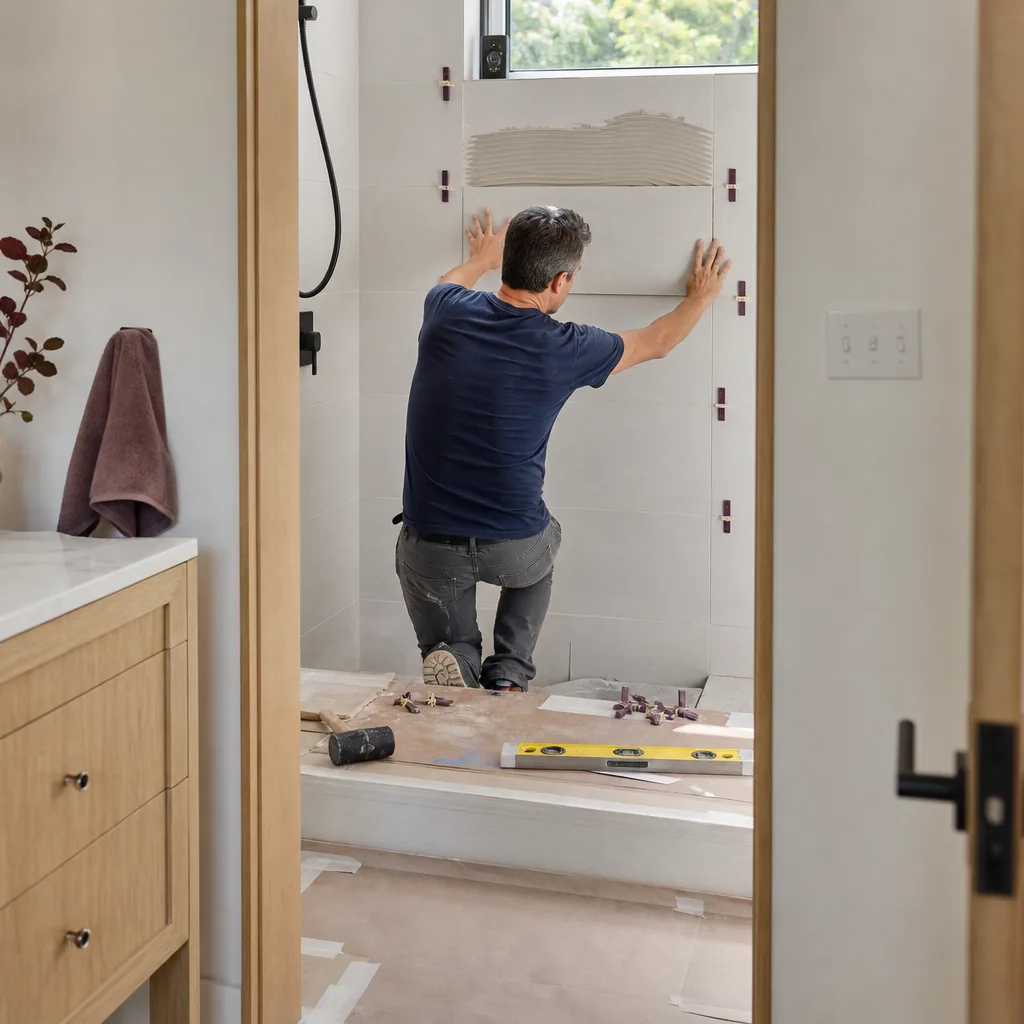
- Tile delamination (tiles lifting or popping). Almost always insufficient thin-set coverage. TCNA standards for wet areas call for a minimum 95% back coverage with no voids – meaning nearly the entire back of every tile must be bonded. A contractor who spot-bonds or dollops adhesive leaves voids, and trapped moisture plus thermal cycling eventually pops the tile.
- Persistent musty odor. Not a cleaning problem. It means moisture is staying in the room, and the usual culprits are an undersized exhaust fan or a duct that dumps into the attic instead of terminating outside.
- Caulk failure at penetrations. Where the shower valve trim, drain collar, and tub spout meet tile, only silicone belongs. Painter’s caulk or grout in those spots fails within a year.
- Vanity cabinet swelling. A non-moisture-rated cabinet box – MDF or particleboard with raw edges – swells and delaminates in a steam environment. The cabinet should be rated for moisture exposure, with sealed cut edges, especially near a shower.
If any of these are showing up in a recent Torrance remodel, note the pattern before you call. A contractor who can name the root cause on the phone is one who understands installation. Under our standard, the price is written before anyone starts and a signed change order is required before any change proceeds – so a warranty conversation should never be a negotiation.
How to Tap-Test New Tile for Hollow Spots
A hollow sound under a tile is a void – an area where thin-set didn’t fully bond the tile to the substrate. Catching it now saves you a full tear-out later. Do this in the first week or two after installation, before you make final payment.
- Get a small plastic-handled screwdriver or the handle of a wooden spoon. Use the handle, not the metal tip.
- Tap each tile in a grid – center, then each corner, then each edge midpoint. About eight taps per tile.
- Listen for a change in pitch. A solid, dull thud means good coverage. A sharp, hollow ring means a void underneath.
- Mark each hollow tile with a piece of painter’s tape. Don’t use marker on new grout.
- Record the count. If more than one in twenty tiles sounds hollow, or any single deep void exceeds roughly 2 square inches, the installation is failing industry tolerance and should be corrected.
In our experience, most hollow spots appear near perimeter cuts and around the drain or valve penetrations, where a rushed installer spread too little adhesive. The contractual remedy should be removal and reinstallation of the affected tiles – not injecting adhesive through a drilled hole, which is a cosmetic patch that fails again within a couple of years. Tile over a properly prepared substrate should last decades. If a contractor won’t warrant the tile installation for at least a year, that tells you something.
On the structural side, a bathroom remodel sometimes expands beyond the room itself. If your plans include changing a wall or adding square footage, our Home Additions & ADU in Torrance page covers the permitting path.
Substrate and Waterproofing: The Decisions That Decide Everything
Behind every long-lived tile job is a wet-area waterproofing system – a bonded sheet or liquid-applied membrane that keeps water out of the wall assembly entirely. Behind every failed job is a substrate that was never meant to get wet. In Torrance’s mild coastal climate, moisture doesn’t freeze, which means failures take longer to appear but arrive just as surely. A shower built over standard drywall will hold up for a year or two, then start to show the symptoms.
- Correct wet-area substrate: cement backer board or a foam tile backer designed for wet areas, installed over a properly framed and insulated wall, with all seams and corners taped and sealed.
- Waterproofing membrane: either a bonded sheet membrane or a liquid-applied coating, applied to full spec – typically at least two coats in a wet area, with every change of plane reinforced.
- Preslope: for a curb shower, the substrate under the membrane has to slope to the drain. A flat pan will pool water and start growing growth under the tile.
- Flashing at the transition: where the shower wall meets the floor and where the waterproofing meets the drain, the connections are the highest-risk spots.
We specify product cut sheets for every wet-area job, naming the membrane brand, the thin-set, and the backer board. When we hand over the file, a homeowner has proof of what’s behind the wall. For a broader look at how we handle the Torrance market, the Rowan Construction Group Torrance home page covers the trades we run and how pricing works.
Damp Bathroom After Remodel? Run the Ventilation Troubleshooting Sequence
A bathroom that fogs the mirror for 20 minutes after a shower, drips from the ceiling, or develops dark spots on the grout has a ventilation problem, not a cleaning problem. Two things go wrong: the fan is undersized for the room, or the duct doesn’t go anywhere useful.
- Measure the room. Length × width × ceiling height gives you cubic feet. A 5 × 8 bathroom with an 8-foot ceiling is 320 cubic feet.
- Apply the ASHRAE air-change rule. The general guideline is 8 air changes per hour for a bathroom, so required fan CFM is room volume × 8 ÷ 60. For that 320-cubic-foot bathroom, that’s about 43 CFM – but most building codes round up to 50 CFM minimum for a bathroom fan, and a fan rated 80 CFM or higher handles a shower-heavy household better.
- Read the fan’s CFM rating. It’s on the spec plate, often under the grille. If the number is below your required CFM, the fan is undersized and won’t clear the room.
- Verify duct termination. Follow the duct from the fan housing. It must run to an exterior wall or roof cap – not stop in the attic. A duct that stops in the attic dumps warm, moist air into the roof cavity and is a building code violation. It’s also one of the most common contractor shortcuts we find on remodels done by others.
- Check the duct run. Long runs, sharp elbows, and flexible corrugated duct reduce effective CFM significantly. The shortest, straightest, smooth-walled run to the exterior performs best.
Correcting a dead-ended duct typically runs a few hundred to a bit over a thousand dollars depending on the run, and swapping an undersized fan for a properly rated one is a straightforward job. Both are worth doing – a Torrance bathroom that clears in 10 minutes instead of an hour keeps the framing dry for the life of the house.
The Three Documents You Need for a Warranty Claim
A warranty claim shouldn’t depend on who remembers what. If the conversation starts with “the tile guy says it was fine,” get these three documents first.
- The inspection sign-off card. Proves the permit was pulled and the job passed inspection. A bathroom remodel with structural, plumbing, or electrical changes typically requires a permit, and the inspector’s sign-off goes on record. Without it, there’s no proof the work met code.
- Product cut sheets. The manufacturer spec sheets for the waterproofing membrane, tile adhesive, and substrate. These establish exactly what was specified – and let a third party verify whether the installed product meets wet-area requirements.
- The photo record of substrate conditions. Photos of the wall assembly before tile went on: the backer board, the membrane in place, the drain connection, and the preslope. This is the single most useful document for any warranty argument, because it shows what was actually behind the tile.
Under our standard, every visit includes a documented photo record – it’s part of the job, not an upgrade. If your current contractor can’t produce the photos, that’s a red flag. The file you build here also helps if you ever sell the house, since it proves the remodel was inspected and documented.
If the bathroom is part of a larger exterior project, our Fence Installation in Torrance page is a good place to see how documentation works on other trades.
Warranty Item, Maintenance Failure, or Separate Trade? Drawing the Line
Not every problem is a callback, and not every contractor’s “no” is unfair. Here’s how to sort it.
- Contractor warranty: tile popping within a year, grout cracking along a plane change that was grouted instead of caulked, a shower that pools water because the preslope was flat, a fan that doesn’t clear the room because the duct stops in the attic, or a vanity box that swells because a non-moisture-rated cabinet was installed near the shower.
- Homeowner maintenance: missing or degraded caulk at the tub edge after a few years of use, grout that has worn at the floor line from cleaning, a fan grille clogged with dust and lint, or a slow drain caused by hair. These are routine for anyone in a home. Recaulk the wet joints with 100% silicone every couple of years – on a Torrance schedule, before the rainy season starts, since the house tightens up in summer and opens in winter.
- Separate trade specialist: a slab leak under the bathroom floor, mold that has spread into the framing (needs a certified mold remediator and an environmental assessment), a failed sewer line outside the bathroom footprint, or a structural issue with floor joists. These are not bathroom remodel defects, and no tile contractor should be asked to fix them.
The key is documentation. If you can point to the acceptance criteria, the specified products, and the photo record, a warranty claim is a straightforward conversation instead of a dispute.
Drain Connection Problems and What They Cost to Correct
The drain connection is the third decision made in the first week, and it’s the one that costs the most to undo. Two things go wrong: the drain isn’t set to the correct height for the tile thickness, or the waterproofing membrane doesn’t integrate properly with the drain flange.
If the drain sits too high, water pools on the tile surface. If too low, the joint around it can fail. If the membrane is not bonded into the drain, water gets under the tile and the pan becomes a sponge. Correcting it means removing tile and redoing the connection and the membrane – typically a $900 to $1,800 repair if caught early, and more if the subfloor needs work.
If you’re planning a full bathroom rebuild rather than a repair, our Driveway & Pavers in Torrance page is useful when the work extends outside – both jobs benefit from a written scope and a documented record.
Common Mistakes to Avoid
- Grouting a movement joint. The tub-to-tile and floor-to-wall joints must be caulked with 100% silicone. Grout there cracks within a year, every time, regardless of grout brand.
- Spot-bonding tile. A contractor who dabs adhesive instead of troweling full coverage leaves voids that fail in 2-3 years. In a coastal Torrance house, humidity accelerates it.
- Skipping the preslope. A flat shower pan holds water under the tile and grows growth. Verify the pan slopes to the drain before tile goes down.
- Dead-ending the exhaust duct in the attic. Common, code-violating, and a straight path to mold. Always confirm the duct exits the building.
- Accepting a low-CFM fan. The cheapest fan on the shelf is often the one that doesn’t clear a room. Verify the number against the room volume.
- Framing the vanity in raw particleboard. Near a shower, an unrated box swells from the bottom up. Specify a moisture-rated cabinet.
- Starting untracked work. Without a written price, a signed change order, and a photo record, you have nothing to reference when a problem shows up. Get it in writing, every time.
See the difference
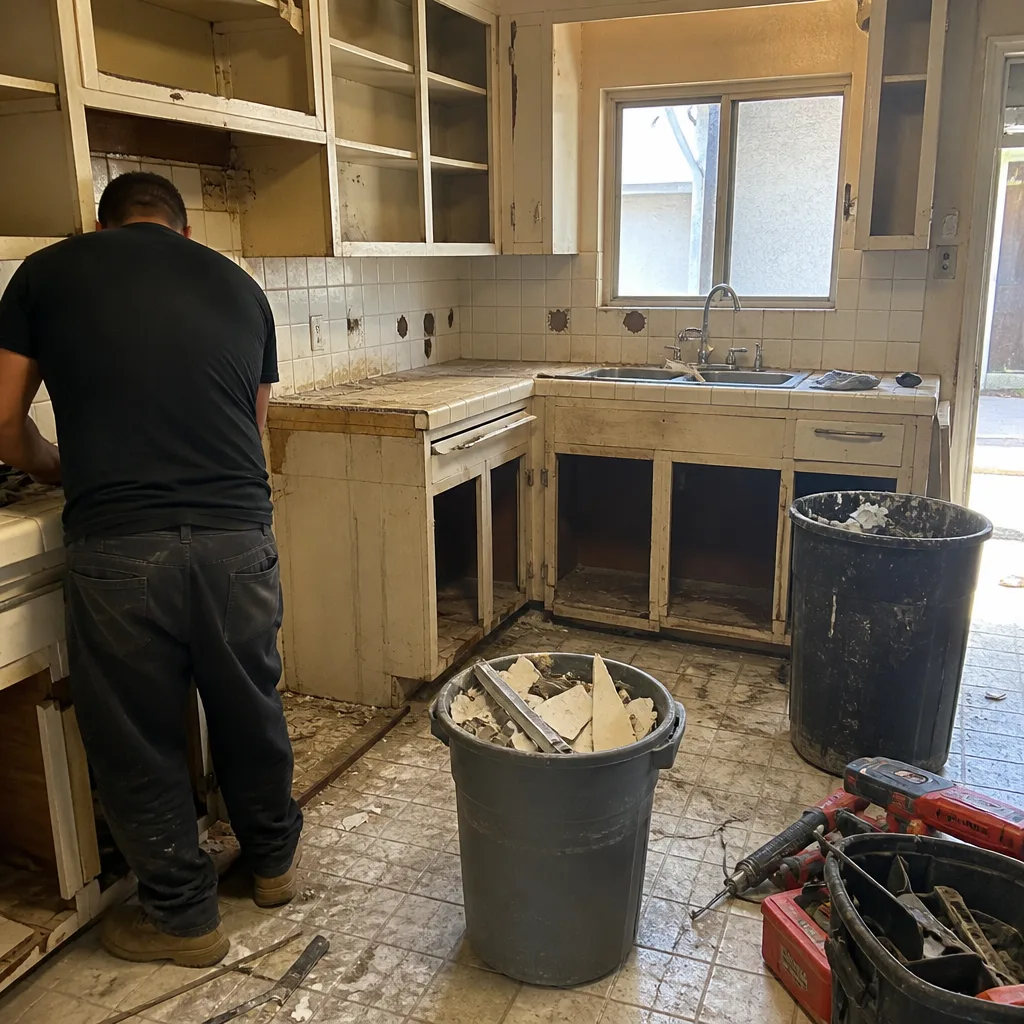 Before
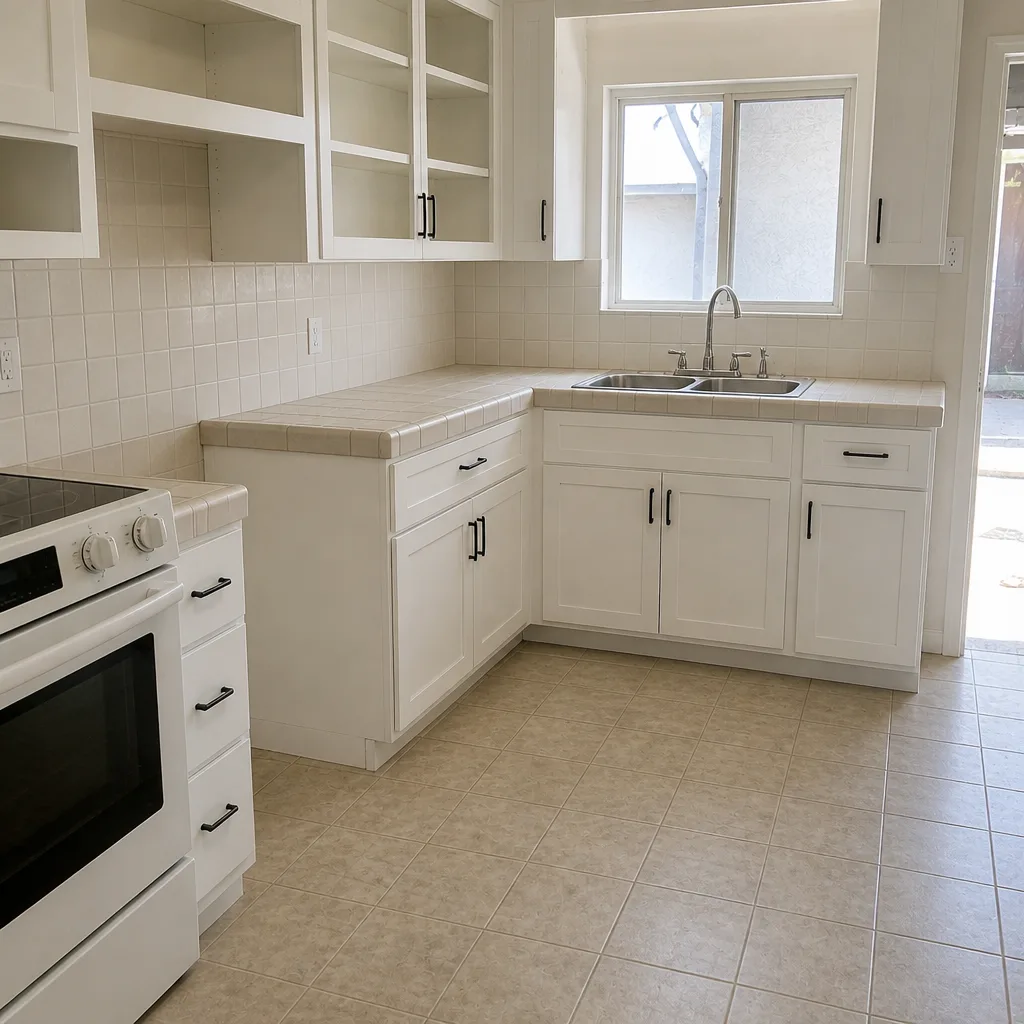 After
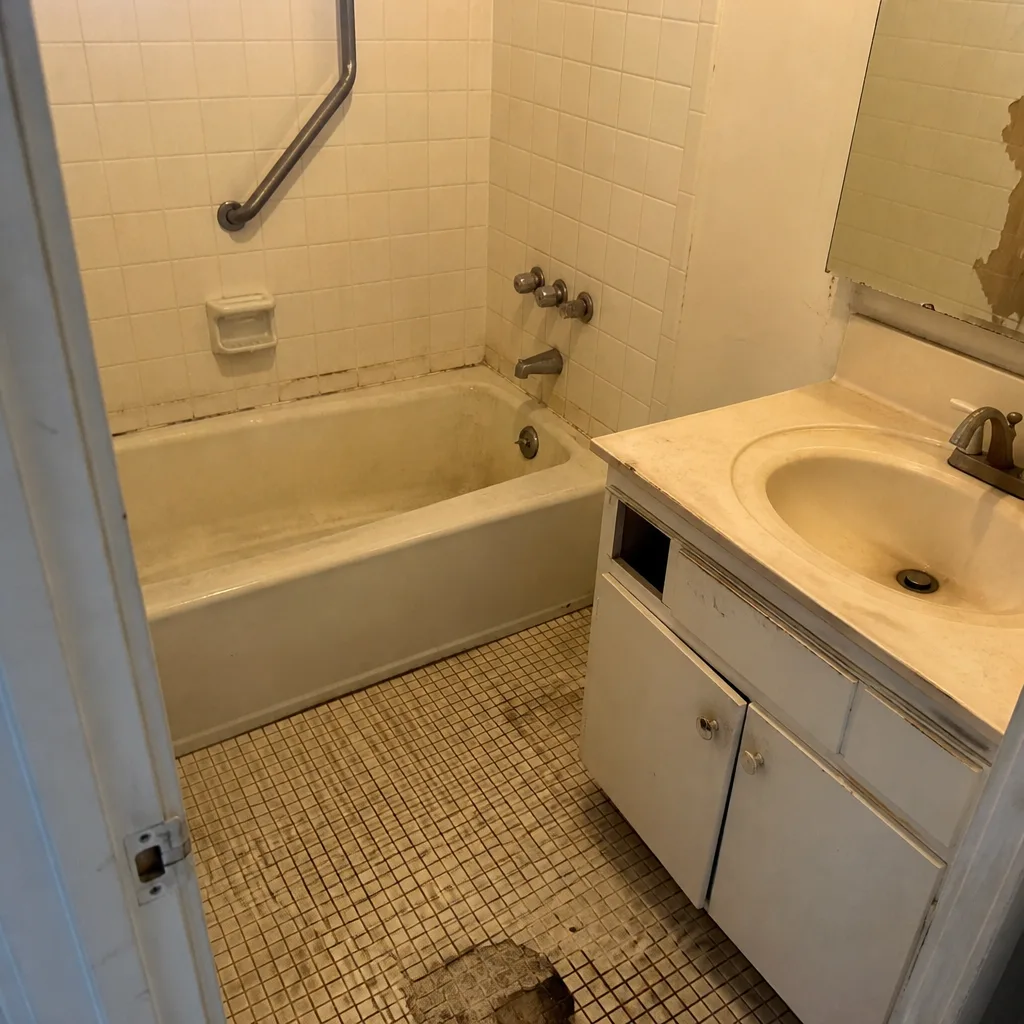 Before
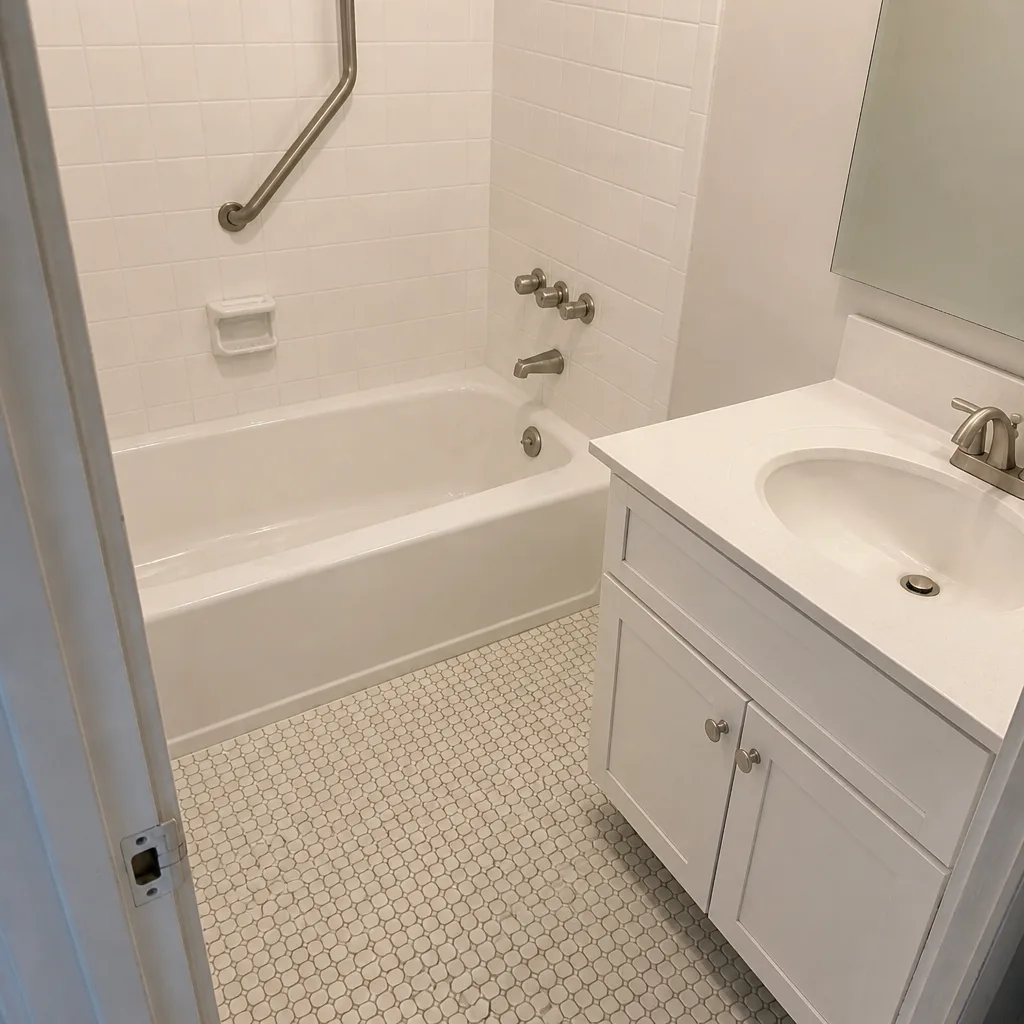 After
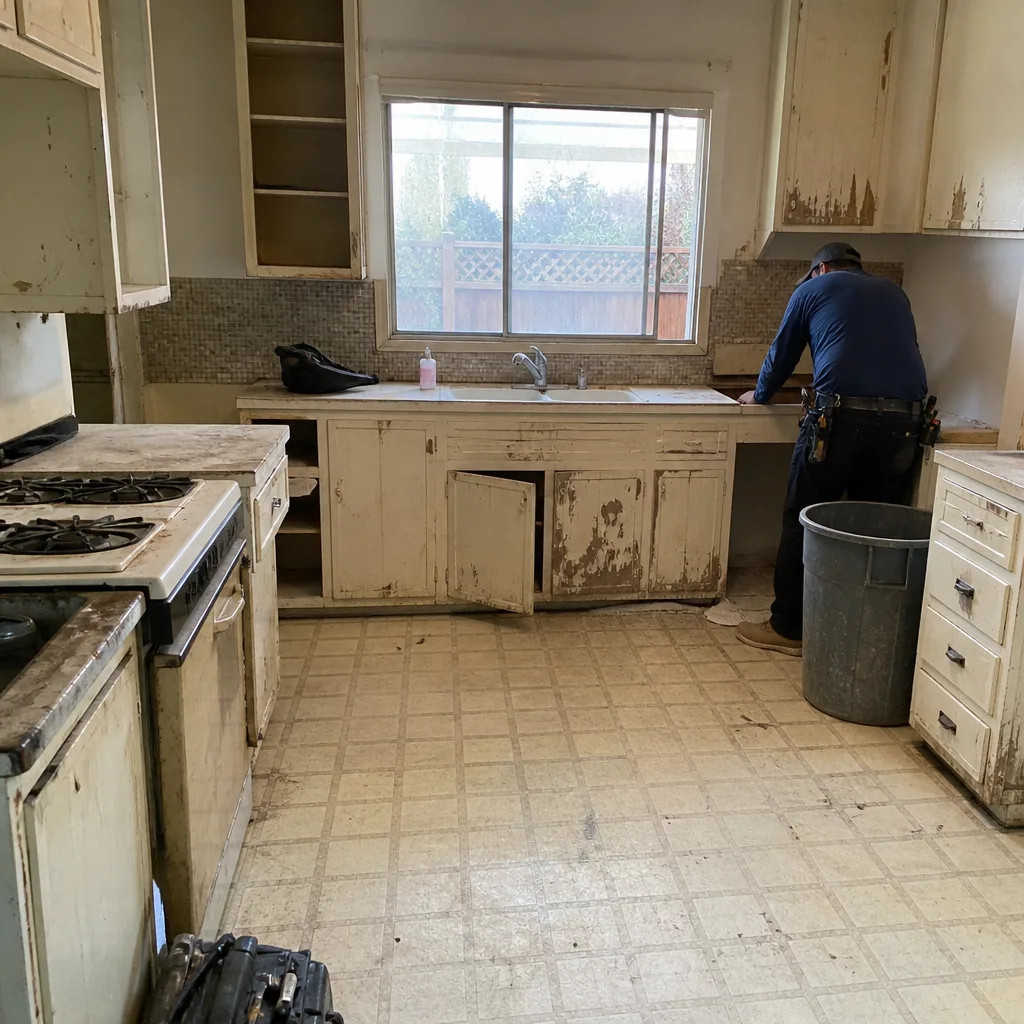 Before
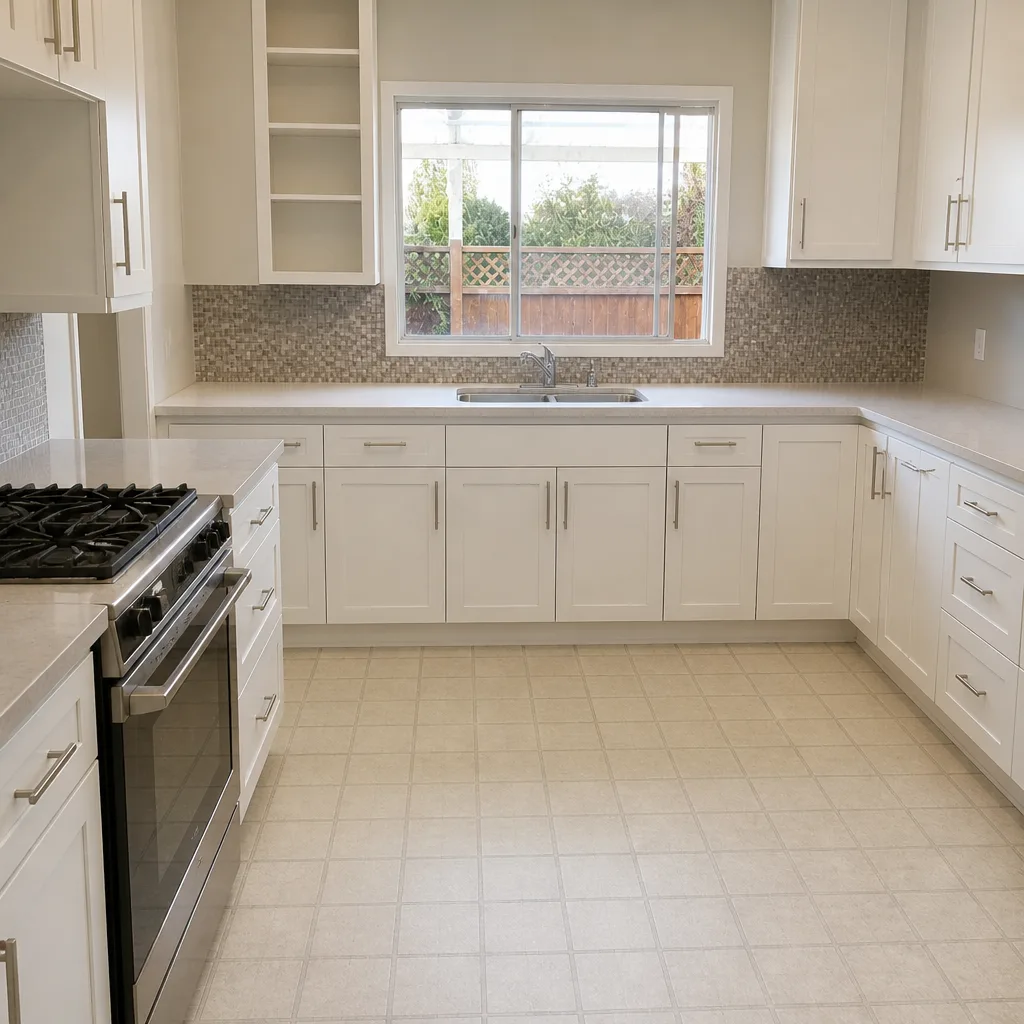 After
When to Call a Professional
If you’re staring at hollow tile, a shower that stays damp, or a joint that keeps reopening, the diagnosis matters more than the repair. A written second opinion is the fastest way to know whether you’re looking at a warranty item or a maintenance call. Rowan Construction Group technicians bring up to 19 years of experience, and our Free Second Opinion on any written estimate means we’ll review a competitor’s quote line by line at no charge. We’re background-checked and uniformed, and every visit includes a documented photo record. Rowan Construction Group Torrance offers free estimates – call (888) 349-6729 to schedule a visit. The 365-Day Done Right Promise backs it: if it’s not done right, we make it right.
Frequently Asked Questions
Repairing a failed movement joint with silicone caulk is a small job, typically $150 to $350. Removing and replacing hollow or delaminated tile runs about $400 to $1,200 depending on area. A full shower pan rebuild because of drain or preslope failure is $900 to $1,800 if caught early. Call (888) 349-6729 for an exact quote – estimates are free.
Caulk fails fast when the wrong product was used. Wet-zone transitions – shower valve trim, tub spouts, drain collars – require 100% silicone. Painter’s caulk or grout in those spots cracks within 12 months. The fix is removing the old material and redoing the joint with silicone.
Usually, yes – especially if the duct to the exhaust fan stops in the attic instead of terminating outside. That’s a building code violation and a common shortcut. The other culprit is an undersized fan. Verify the CFM rating against the room volume and follow the duct to the exterior. If either is wrong, it’s a warranty item.
Yes, when the work moves plumbing, electrical, or structural elements – which covers most full remodels. The inspector’s sign-off card goes on record, and it’s one of the three documents you need if you ever make a warranty claim. If a contractor suggests skipping the permit to save time, walk away.
Remove it. Caulk won’t bond to itself, and silicone on top of degraded silicone is a temporary fix that fails in a few months. Cut out the old material, clean the joint, let it dry, and apply fresh 100% silicone.
If the tile is hollow across more than a few square feet, the shower pan is flat, or the drain connection is wrong, a targeted rebuild is the practical answer. If it’s isolated hollow spots, a joint, or a fan, a repair is enough. A written diagnosis with photos is the only reliable way to know.
The Bottom Line
Grout that cracks in a straight line, tile that sounds hollow when you tap it, and a bathroom that stays damp after a shower are all telling you the same thing: the first week of construction went wrong. Substrate choice, waterproofing method, and drain connection decide how a bathroom lasts. Catch the failures with a tap test, verify the exhaust fan and duct, collect your inspection card, cut sheets, and photo record, and you can tell a warranty item from a maintenance call. Then fix the root cause – not the symptom.
When you’re ready to schedule a walk-through or a second opinion, Rowan Construction Group Torrance offers free estimates. Call (888) 349-6729.
Written by the team at Rowan Construction Group Torrance.